


Do you want to know how to get and install a Starlink replacement dish? If so, you have stumbled upon the right article.
I was really excited when I first installed my Starlink dish. It promised fast internet speeds, even out here where traditional services fall short.
But a few weeks ago, I noticed my connection was unusually slow and spotty. At first, I thought that it was just Starlink data throttling issues.
I went outside to check the dish and saw that it had sustained some damage—probably from the last storm, which brought heavy winds and debris.
I contacted Starlink customer support to explain the situation. They were quite helpful and efficient.
After a brief troubleshooting session over the phone, they concluded that the dish needed to be replaced. I was impressed with their quick decision-making.
Within a few days, a replacement dish arrived. The box was neatly packed, with all the components securely in place.
Since I had already installed the original one, I decided to install it myself. The process was straightforward.
After mounting the new dish and making sure it was perfectly aligned, I connected it to my modem and powered everything up.
To my relief, the connection was immediately restored, and it was even faster than before.
In this article, I have shared everything that you need to know about Starlink replacement dishes.I hope it helps.
So, without any further ado, let’s get started.
Why Do You Need A Starlink Replacement Dish?
Starlink is a satellite network provider owned by SpaceX. It provides satellite internet services globally, which are beneficial for connectivity even in remote areas.
Although the company claims that Starlink dishes last between 5 and 7 years, you should most often replace them after two years of usage.
Sometimes, you might need a Starlink replacement dish in a few months or a year for the following reasons.
Damage
The primary reason for wanting a replacement is damage to the dish. This could be from extreme weather conditions such as strong winds, hailstorms, snow, falling heavy objects, or even an animal encounter.
Malfunction
Sometimes, you might need to replace your dish, even without physical damage, if it does not function well or fails to provide clear signals due to various electronic issues.
Upgrade
Starlink is constantly improving its technology, and there have been numerous improvements to the dish hardware. Some individuals might be looking for a replacement to get the newest version.
How Much Does Starlink Replacement Dish Cost
The cost of a Starlink replacement dish depends on your area’s weather conditions and your dish’s warranty.
You can check your dish warranty. If your dish is within the warranty period, you may get a free Starlink dish replacement.
If the dish warranty is no longer valid, you must pay the replacement costs to get a new dish.
If you want a replacement Starlink dish, you must pay $599. This will include the second-generation dish and a Gen 2 Wi-Fi router.
While the amount is quite high for a replacement, paying it would also give you a router, and you would not need another one.
This is especially beneficial for individuals who also want to upgrade their routers.
If you want to consider a refurbished Starlink dish, it can cost you $250-$300.
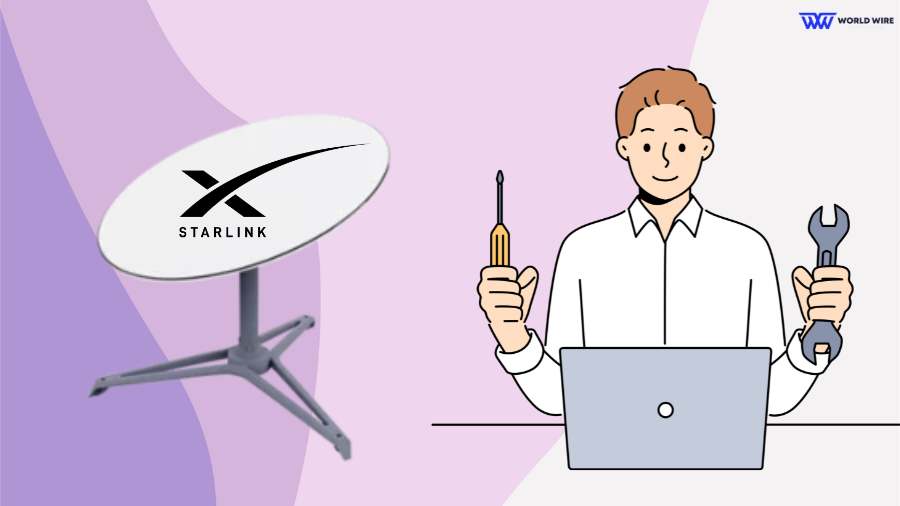
How To Get Starlink Replacement Dish
There are two main cases where a Starlink replacement dish can be purchased.
Here is how to proceed in each case.
Warranty Replacement
You can get a free replacement dish if your dish is damaged or malfunctioning and under warranty.
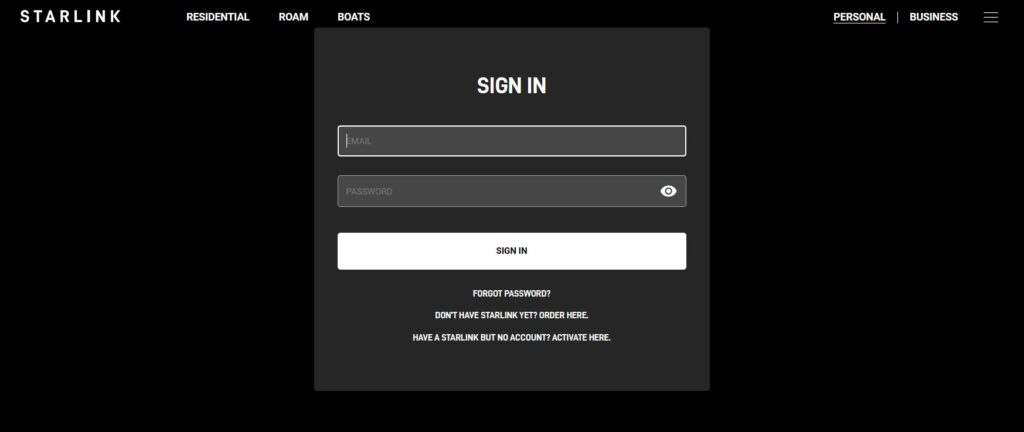
- Open the Starlink app or Starlink website and log in to your account.
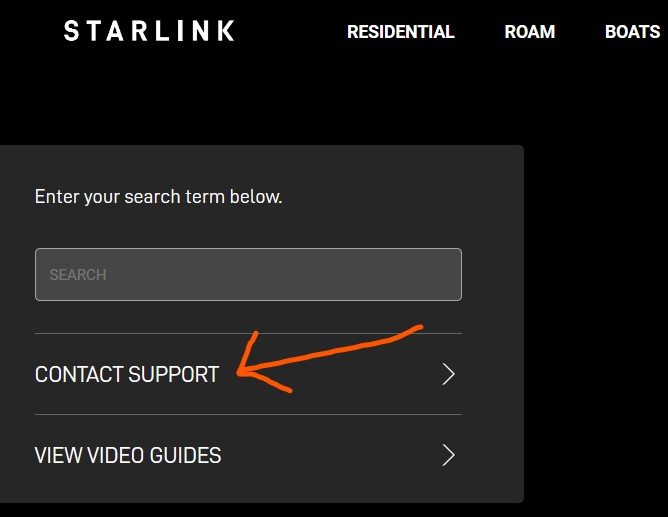
- Head to the Starlink support portal.
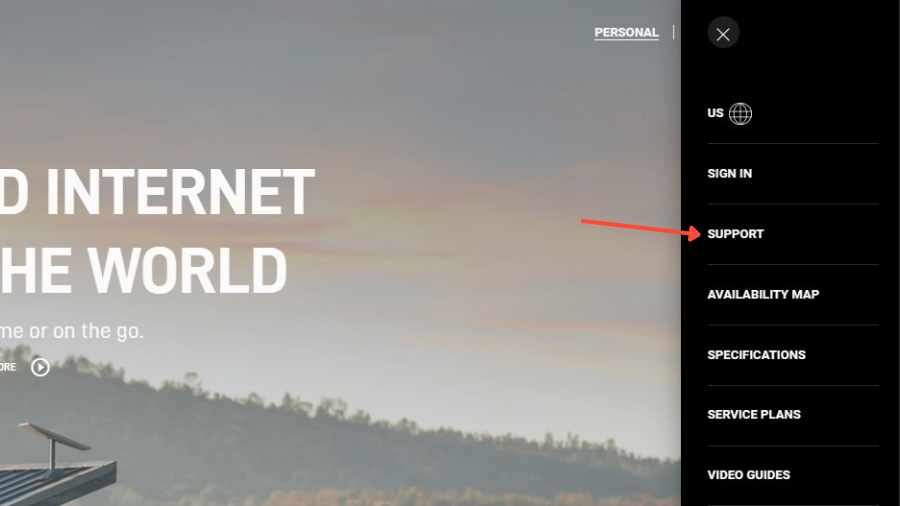
- Submit a ticket describing the issue with your dish.
- Starlink will determine if the problem falls under warranty and guide you through the replacement process.
Purchasing a Replacement
If you damage your dish by fault and it is out of warranty, you must purchase a Starlink Replacement Dish.
- Login to your Starlink Account and contact Starlink customer support using the Starlink support portal.
- Inform the customer care executive that you need to purchase a replacement dish.
- Starlink will determine the issue and guide you through purchasing the replacement by offering refurbished or new dishes.
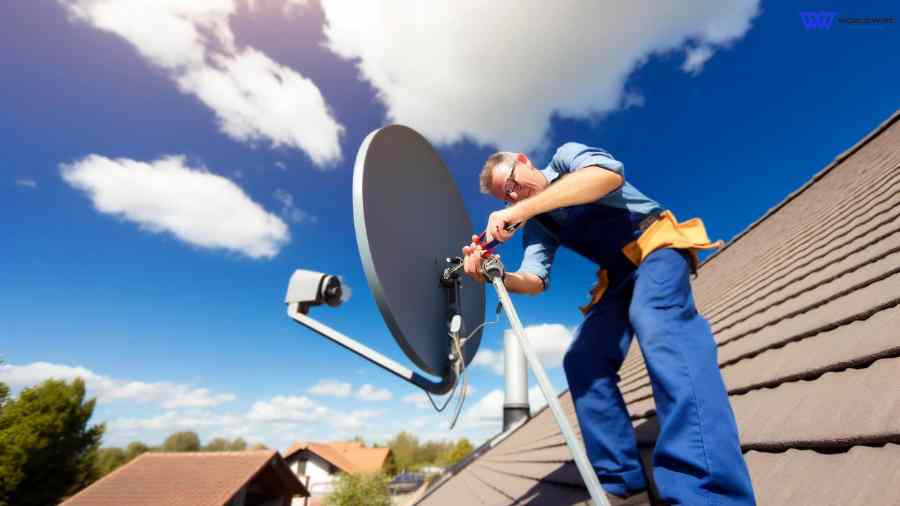
How To Install Starlink Replacement Dish
The Starlink dish installation is easy; you can do it yourself without professional assistance.
Here are the steps to install your Starlink replacement dish.
Order Starlink Replacement Dish
First, you need to order a new Starlink dish by contacting the company and requesting a replacement.
Check Your Order
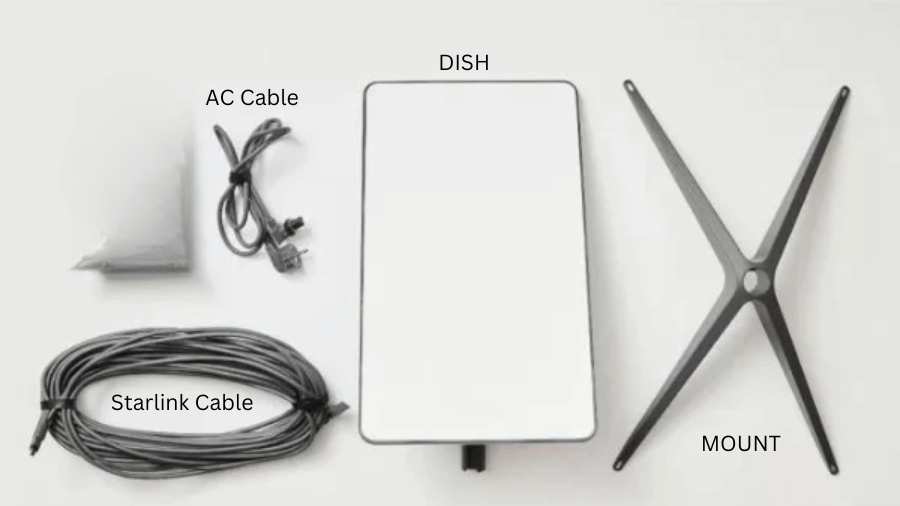
Once you receive your order, confirm that you have received all the replacement parts, including the dish, router, cables, and mounting equipment.
Remove Your Older Starlink Dish
The next step is to remove your old dish so that you can set up the new one. Once you have reached your older dish, carefully unplug the power and data cables from it.
Install a Starlink Replacement Dish
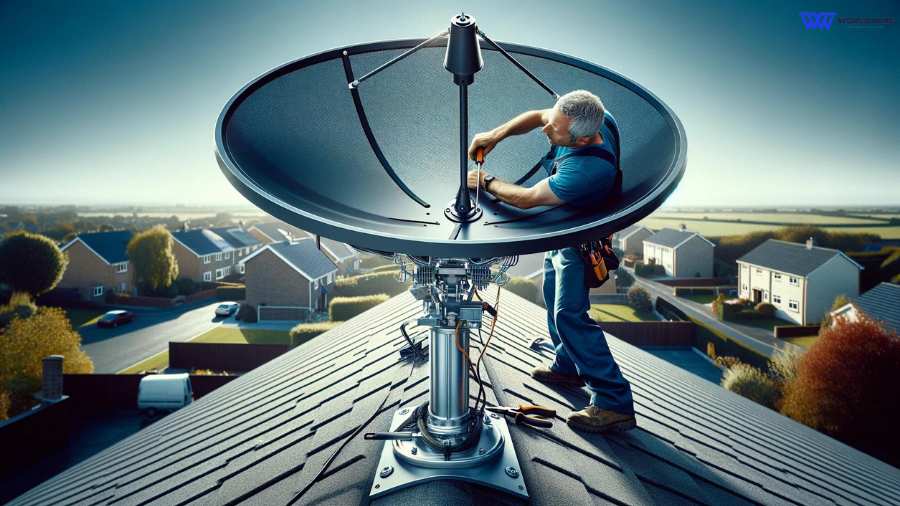
Now, you can install the new dish on the same mount you used for the old dish. You may also get a new Starlink telescoping pole or attach it to a normal mount.
Ensure the area has a clear sky view without obstructions like trees or buildings. The Starlink app can help you assess ideal locations.
You must power connect the new dish and other cables to your older one.
Activate your Starlink
Open the Starlink app and connect your device to the Starlink Wi-Fi, titled “STARLINK” or “STINKY” by default.
Now, choose between the “Existing Account” and “New Account” options.
If you do not have an account, create one or log in to your previous account using your credentials.
The app will provide the activation details. To complete the remaining setup process, follow the on-screen instructions.
If you can not activate your Starlink replacement dish through the app, log in to Starlink’s website through the web browser after connecting your device to Starlink’s Wi-Fi.
Troubleshoot Starlink Replacement Dish Installation Issues
You might encounter issues while installing your Starlink replacement dish. In that case, you can use these easy fixes to troubleshoot the problem.
Confirm the Power
Ensure both the router and dish are securely plugged into the power source. If necessary, try a different outlet.
Check for Loose Connection
Sometimes, the cable connections might not be fully secure. Double-check that the cable is tightly plugged into both the dish and router. Disconnecting and reconnecting the cable at both ends will ensure a tight fit.
Verify for Viable Cable
If your cable seems faulty, check for any physical damage or cuts. If it is damaged, contact Starlink support for a replacement.
Check for Obstructions
The Starlink replacement dish might face issues if it does not have a clear sky.
Use the Starlink app’s “Obstructions” feature to see if any trees, buildings, or other objects are blocking the dish’s view of the sky.
Verify App Connectivity
While installing the replacement dish, your device must connect to the Starlink Wi-Fi network. Make sure your phone is connected to Starlink or STINKY by default.
Reboot Router
If the app is not connecting or the internet seems unavailable, try rebooting the router through the Starlink app by going through Settings > Router > Reboot Router or unplugging it for a few seconds and plugging it back in.
Maintenance Tips For Your Starlink Dish
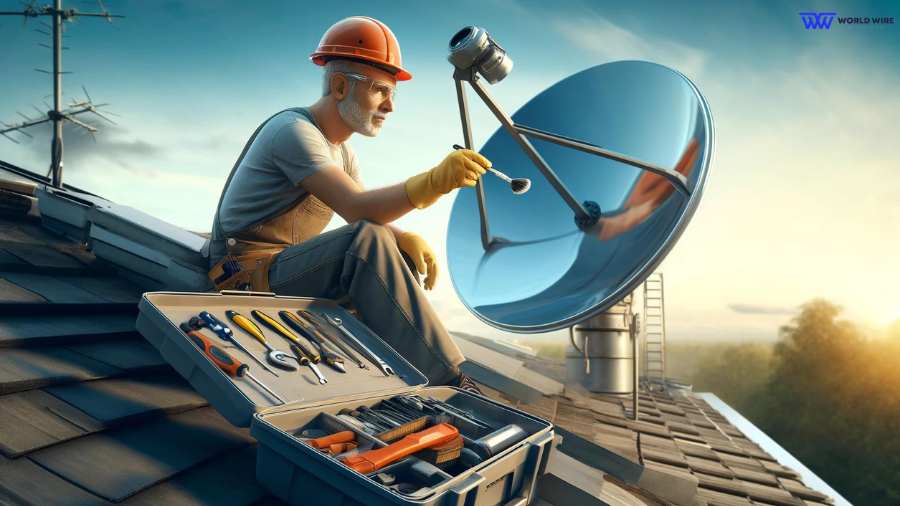
If you do not maintain your Starlink replacement dish properly, it may only serve you for a few years. Regular maintenance is the key to Starlink’s improved longevity and optimal performance.
You can maintain your Starlink dish by following these few useful tips.
Maintain a clear view of the sky
Starlink dishes should have a clear view of the sky for strong signals. On the Starlink App, you can monitor obstructions like trees, buildings, or bird nests that might block the dish signals and overall performance.
Clean your Starlink dish
The Starlink dish can self-clean during rain, but dust build-up on the dish can affect signal quality.
If you live in polluted or dusty environments, you should clean your dish regularly with a soft, dry cloth that can remove dust particles.
You should avoid using harsh chemicals or abrasive cleaners to clean your Starlink dish.
Clear off the snow
While Starlink dish has a built-in snow melting feature, extremely heavy snowfall might affect its capacity.
In such cases, gently brushing off excess snow with a soft brush can help maintain signal strength.
If your dish is mounted in a difficult-to-reach location, it is better to leave cleaning to a professional to avoid accidents.
By following these simple tips, you can ensure that your Starlink dish serves you longer without needing replacement.
Frequently Asked Questions
Can I install the Starlink replacement dish myself?
Yes. You can install the Starlink replacement dish yourself. Starlink is designed for DIY setup, and the replacement process is straightforward.
Self-installation is user-friendly and cost-effective as it does not include any fees. However, it involves technical steps, like connecting to the cable and using the Starlink app.
Also, if your disk is mounted high, it is safer to have a professional replacement.
What should I do with my old Starlink Dish?
You can ship your older dish to Starlink by following the proper shipping procedures.
You can also sell your old Starlink dish to someone who might need a replacement or wants to set up Starlink internet.
Additionally, several organizations accept Starlink equipment donations to help bridge the digital divide and bring internet access to underserved communities. You can find such organizations online and donate to them.
How do I activate my new Starlink Dish after installation?
The activation process for your new Starlink dish depends on whether you purchased it directly from Starlink or a third-party reseller.
To activate your Starlink, open the Starlink App and connect your phone to the Starlink WiFi network, named “STARLINK” or “STINKY” by default.
The app will prompt you to choose between “Existing Account” and “New Account.” If you already have a Starlink account, select “Existing Account” and log in using your existing credentials.
If this is your first Starlink dish, choose “New Account” and follow the on-screen instructions to create a new account.
This will involve entering your service address and choosing your service plan. The app will guide you through the remaining activation steps, and you will need to follow the instructions to activate your service.
What warranty covers the Starlink Dish?
The Starlink Dish is covered by a Limited Warranty offered by Starlink that applies to the Starlink Kit, which includes the dish, router, and cables.
The warranty period is 12 months from the date of delivery.
The warranty covers defects in materials that prevent the Starlink Kit from functioning as needed, providing proper installation, maintenance, and use within the Starlink coverage area.
The Starlink warranty does not cover any issues caused by physical damage to the dish, extreme weather conditions, faulty personal devices connected to Starlink, normal wear and tear, etc.
Can I move my Starlink Dish to a new location?
Yes, you can move your Starlink dish to a new location. However, before doing so, you must ensure the new location has Starlink service coverage. You can use the Starlink availability map to check its coverage.
Enter your email to stay updated with offers
If you can’t see the form above, click here to open the form.

Add Comment